Monday, 29 August 2011

Oh the Thinks You Can Think!

I might be late to the party but did you know that you can transfer images onto fabric directly from your printer?  Yes we can. 

I just finished this project doing just that:


I used broadcloth fabric which is a poly/cotton blend lightweight fabric and ironed it,  then cut it out to fit on a sheet of cardstock.

I taped the fabric at the edges on all sides, chose some images, then hit print.

I cut out the images, then used spray adhesive and smoothed them down over the covered board that sits in the frame.

Done!


I can see a lot more of this type of printing in my future.  Think of the possibilities! Endless!  <3

Sunday, 28 August 2011

Necklace Organizer

I put together a necklace holder similar to the earring holder I posted last week.  I'm putting a few tips and a close-up behind the cut.

Me And My Shadow

I cast a shadow of Justin and traced it, then painted it on a wall.  I'm going to be painting a few of the beginning notes of St. Louis Blues cascading out of the trumpet. It's sentimental to me because that's the first song he performed as a duet accompanied by piano in public.  He was 16 at the time.


My Sweet Rufus


Friday, 26 August 2011

Glass Vase Grouping

I gathered clear glass vases that have accumulated over the years and poured about 1/4 cup of white acrylic paint inside each one, and rolled them around until the paint completely covered the glass.  I then inverted them onto a paint tray and let the excess paint run off for a few hours.  The last step is to remove the paint that's left on the rim and then you're done.

You can still use these vases for fresh flowers by putting a small glass inside. 

This project cost me nothing which is my favourite amount to spend.  Little things like this ramp up my happiness more than I can say. 


Thursday, 25 August 2011

Earring Organizer

I put this together today using a frame that I painted then distressed, a leftover scrap of fabric that I used to make some accent pillows for my bedroom, and regular window screen.


Simple Pleasures Brought To You By China

I just can't tell you how many shades of happy I am when I relax with a cup of blooming tea.  It's 3:00 am and I haven't slept yet with this on-again off-again insomnia, and I'm not going to drift off any time soon, but I have all the windows open and I can hear the wind blowing hard through the leaves outside. The fresh air has just a touch of coolness to it. It won't be long before fall takes root and bursts with colour and I can go to the mountains and pretend I'm a tourist.

It's so very peaceful, there is no traffic on the street, there are cats sprawled about and napping, Jazz is beside me purring his face off, and I have soft jazz playing on a vintage cathedral radio and you know?  Life is simply just good at this moment in time.


 I had my mother over this week, and I served her a cup of the Jasmine tea - she'd never heard of it and she couldn't believe her eyes. She thought it was so pretty that she took the flower home in a glass that I covered with plastic so that it wouldn't spill in the car.

She called me yesterday, I guess it would be three days now, and she says that the flower is still holding up.  I had thrown my first flower away, but I'm going to keep this one in water like she did because I like pretty things in my life that make me smile.

Wednesday, 24 August 2011

Faked Out Philodendron

I love houseplants but I just can't seem to keep them alive unless they are cacti. I decided to try to find something that could pass for a real leafy one and put together this today.


I found a styrofoam ball, Spanish moss, and Philodrendon clusters at the dollar store and got busy with a glue gun.  There had been a live plant in the clay pot but I sort of killed it slowly, like every plant I try to make friends with.  


I'm not sure if I should thin out the leaves though. It seems to me that when I lived in a sunnier house, the Philodrendon I had was bushy like this. 


This project cost four dollars.


Tuesday, 23 August 2011

I recovered this lamp shade with sisal cord and spray painted the stand black today.


Here's the before:


I needed 100 feet of sisal cord and applied it with a glue gun.

Sunday, 21 August 2011

Seashell shadow box wall art.

I put together this seashell shadow box for my beachy bathroom recently.


I purchased four shadow boxes from a dollar store and a bag of various shells.

I glued the shadow boxes together and then painted them with acrylic paint in a creamy colour.

I mixed up some sand I snagged from a playground, and mixed it with invisible school glue and more of the cream acrylic paint.

I carefully applied the sand mixture using a small paint brush to the backs of each shadow box and after it dried, glued the shells to the sandy paint using a glue gun.

 
I finished off two little projects today.

This vintage clover botanical came from the wonderful Graphics Fairy. 

The frame was previously gold (ew, I really hate gold these days) so I painted it off-white.  I covered a board with a fabric that is a textured woven cotton blend, then transferred the image onto pure unbleached cotton.  I covered a smaller board with the image and then glued crocheted cotton lace around the boarder.


Love how it turned out!  It hangs in my
insanely girly guest room which I used to read in last night when I couldn't sleep and my God, it's so peaceful and cosy and wonderful in there and I feel so grateful that I was able to refinish that whole room for fifty dollars.


This is a grocery store plastic bag and vegetable bag holder.  My other half calls it a bag-bag.  The vintage balsamic vinegar ad comes once more from The Graphic Fairy.  We don't use many of these type of environmentally unfriendly bags anymore but they fit perfectly in my kitchen garbage can and they're free and we'd be buying plastic liners anyway so whatever.

Since I am ridiculously organized, I stuff the vegetable bags at the top, and the grocery store bags at the bottom so there's no putzing around to find the kind I need.

Tuesday, 2 August 2011

Bedroom Furniture Makeover

I wish I had before photos of this room to show just how awful it was, but try to picture St. Patrick's Day green screaming at you every day.  A teenager previously called this room her lair, but now it's a guest room and a place to read with a cat or two by my feet.


Monday, 1 August 2011

Refinished Windsor Backed Chairs


Here are after shots of a chair I recently refinished.

I put these Windsor backed chairs in a garage sale last year but they didn't sell.  I stored them away, thinking I'd sell them on Craigslist but then decided I really loved them, just not done in honey maple finish.  Here is the before shot of one of them.

Thursday, 21 July 2011

Vintage Rooster Print Placemats With Image Transfer Tutorial

I made some placemats today, transferring a vintage rooster image onto the fabric.  I'm placing a tutorial after the cut to show how to transfer images.

Monday, 27 June 2011

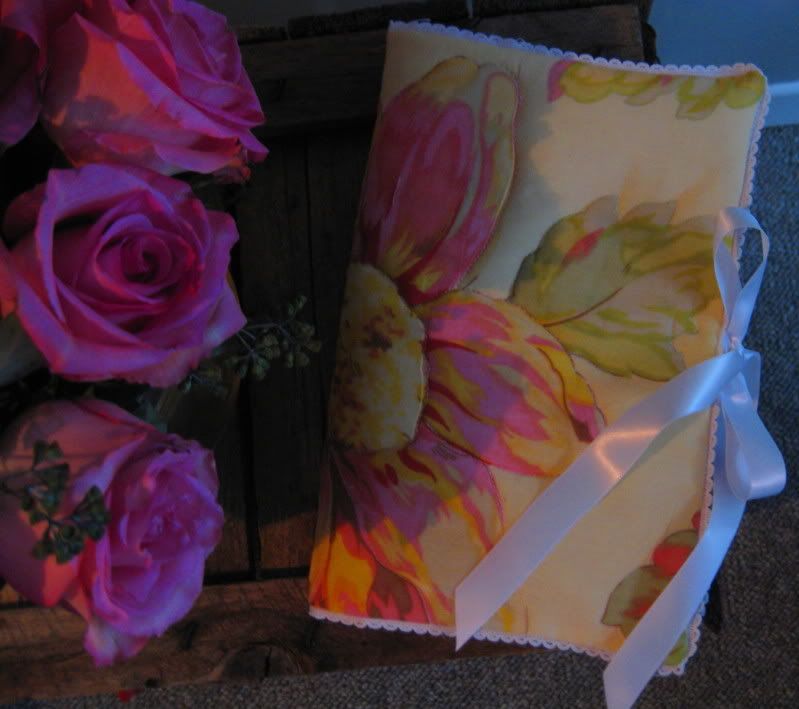
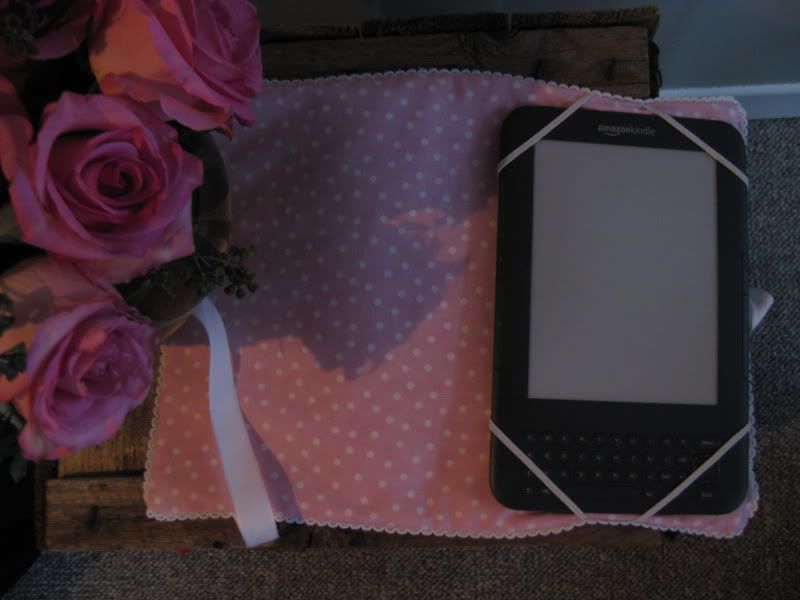
Fabric Kindle Cover

I made this Kindle book style cover using a shoe bag by April Cornell which I got free for spending buckets of money at her Montreal shop, and which I had no use for.  I love the fabric to death and had tucked it away knowing I would find a use for it at a later date.


I machine quilted the fabric all around the edges of the flowers and leaves to give it some stability and inserted some pliable plastic inside the cover. I finished it with picot edged lace.

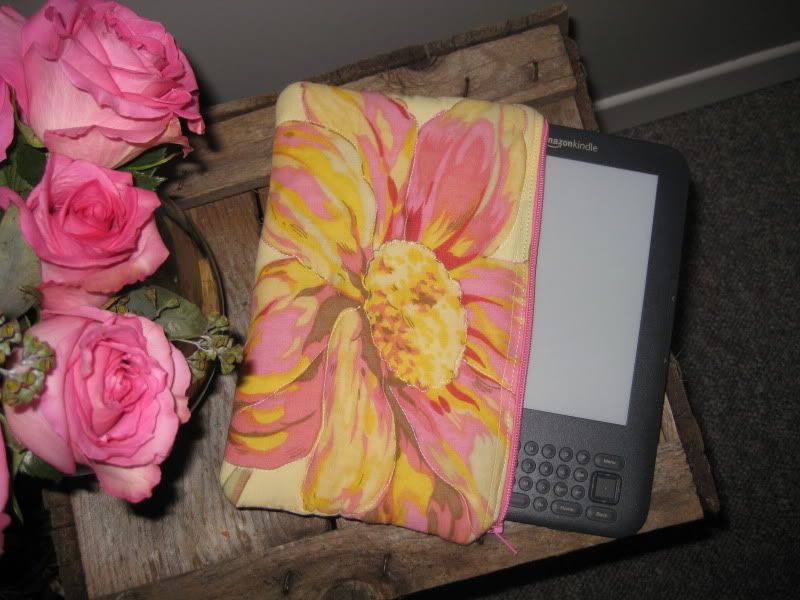
I had made this zipped Kindle sleeve first and then realized that Kindles are on the slippery side to hold when I'm reading in a bubble bath, so I decided to make the book style cover.  

I use the zippered sleeve for the multitude of techno connecters I accumulated from all the gadgets I have around here.  Someone needs to invent a universal connector cable, seriously.  Ideally, everything in the world should be wireless, also seriously.


Friday, 24 June 2011

Recipe Binder - Finally!

For years and years I have been wanting to put together a decent recipe binder. I have recipes jotted down on all sorts of scrap paper, some of them are illegible. I have some printed neatly by hand on recipe cards in a box and I have some printed out on computer paper and stuffed in a drawer. Some of them are stained with oil or chocolate or a hundred other things you find in a cupboard or the ink has smeared. A lot of my newer recipes were saved on my computer so I was dragging my laptop into the kitchen and hoping I didn't spill molasses onto the keyboard.

Finally! Yesterday! I did it! I done made me a decent recipe binder! That is pretty!

See?


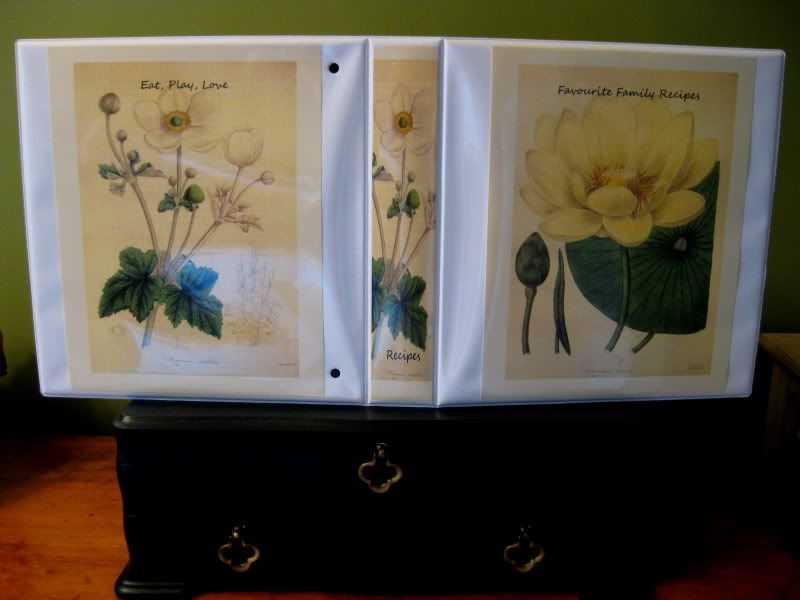
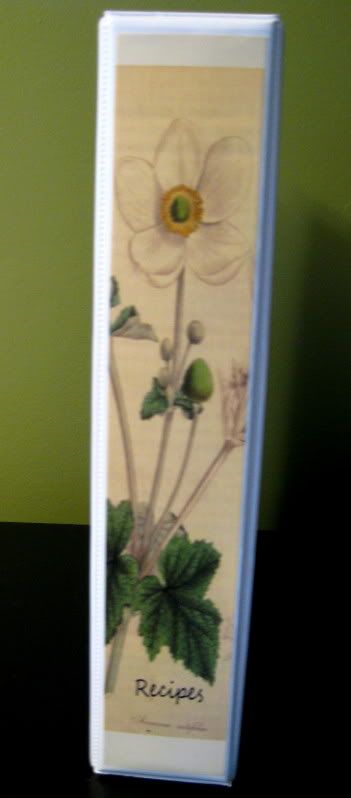
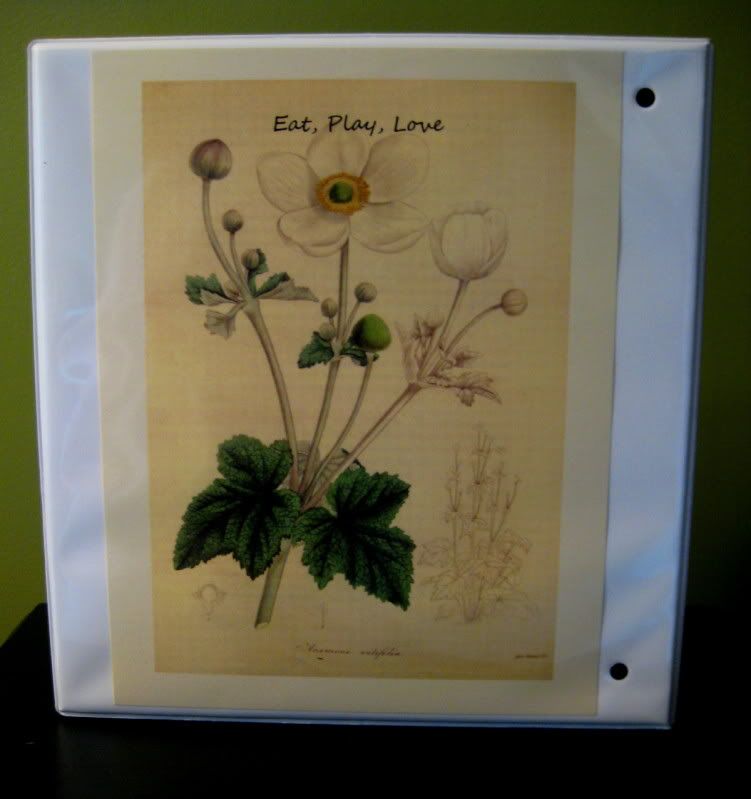
Front cover.  I'm Canadian, I'm allowed to use a U.


Back cover.


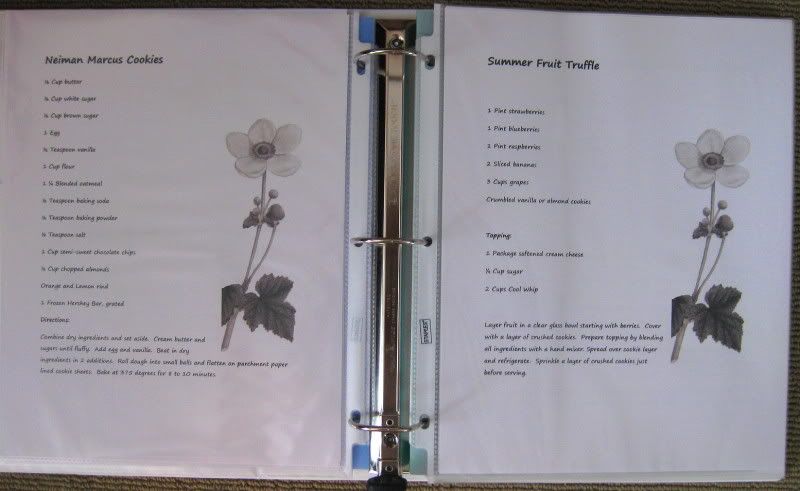
Even the pages are pretteh!

I found a website that has ancient volumes of botanical illustrations and picked out two that I loved and printed them on card stock, then inserted them into a basic binder. I cropped one of the illustrations for the spine of the binder and used that same image in black and white on each recipe page. Each recipe is in a page protector, safe from messy me. I found thin plastic dividers by Avery in pretty pastels to group the recipes. It's freaking perfect!

This binder makes me so ridiculously happy and smiley faced every time I see it!

Tuesday, 14 June 2011

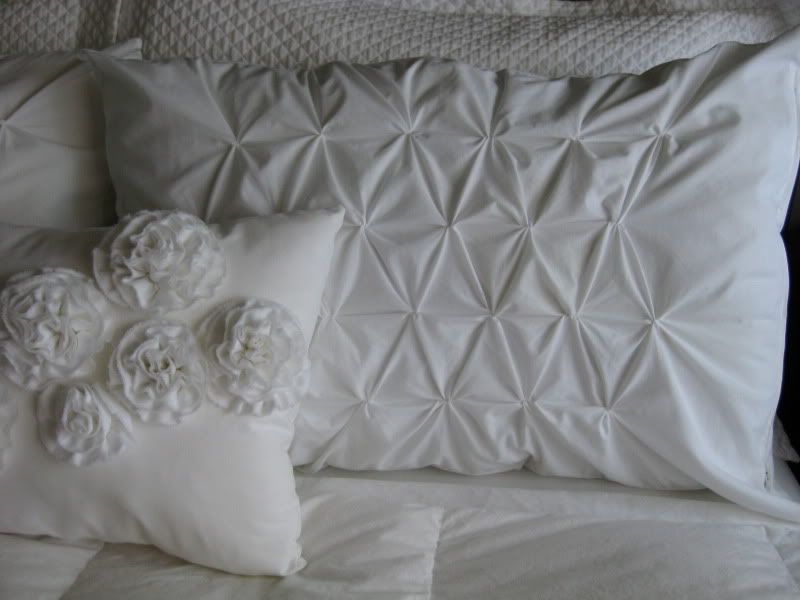
I made these shams today using a tutorial found here.


I placed my tucks 3 1/2 inches apart rather than 5 1/2 as was done in the tutorial.  These took one hour each after I had marked out where I wanted the tucks to be which meant math and deep thinking.

Sunday, 12 June 2011

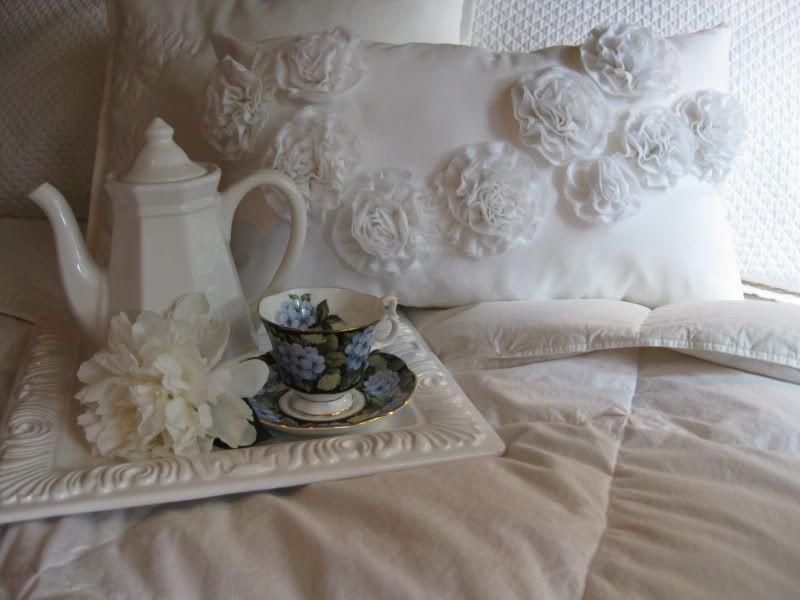
Peonie Spray Pillow

My peonies are in full bloom in the garden.  They reminded me that I had wanted to make an accent pillow using the same technique I saw used to make peonies out of crepe paper.  


I'm going to be adding a few small fill in flowers. They were grouped together in a tight spray but spread out more than I would have liked after I stuffed the pillow.  Live and learn.

Wednesday, 1 June 2011

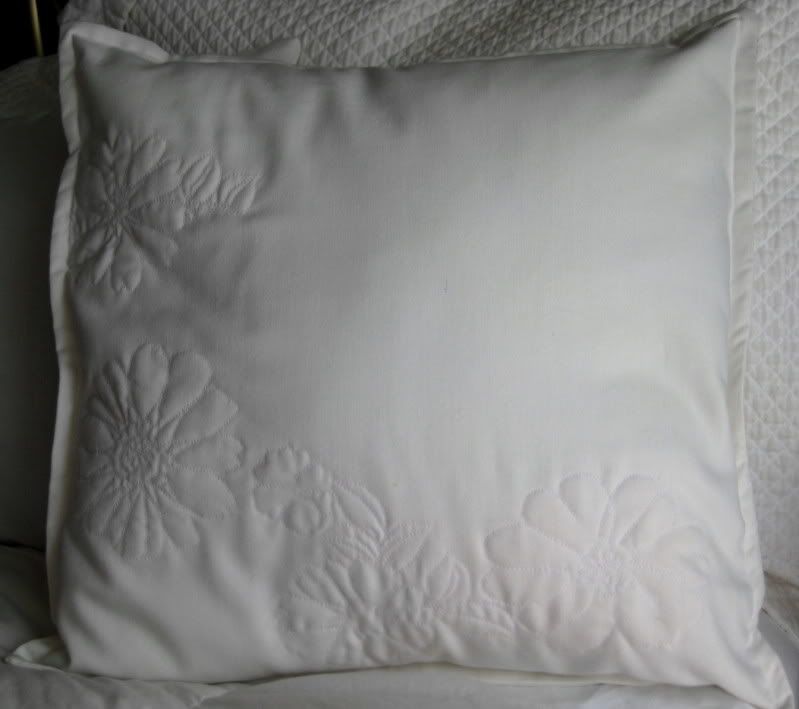
Machine Quilted Pillow

I just love the look of white quilted bedding so I made this pillow taking the easy way out and quilted it by machine.


I received a few sets of floral bedsheets from the 1970s that I have been using to sew cosmetic and travel bags.  The fitted sheets were threadbare in a few sections so I cut out the floral designs in those worn out areas and used them as a 'pattern' to quilt the flowers on this pillow.

I placed my 16 1/2 X 16 1/2 inch pillow cover fabric down, put a layer of quilt batting over that, a piece of waste fabric on top of that, and then arranged the flowers I had cut out of the sheets over the last layer and pinned them down. 

I simply stitched all around the petals and leaves, and then drew in all the threads to the wrong side without cutting them.  After sewing on the back of the cover and trimming the seams, I inserted a pillow form and then top stitched 3/4 of an inch all away around the pillow.

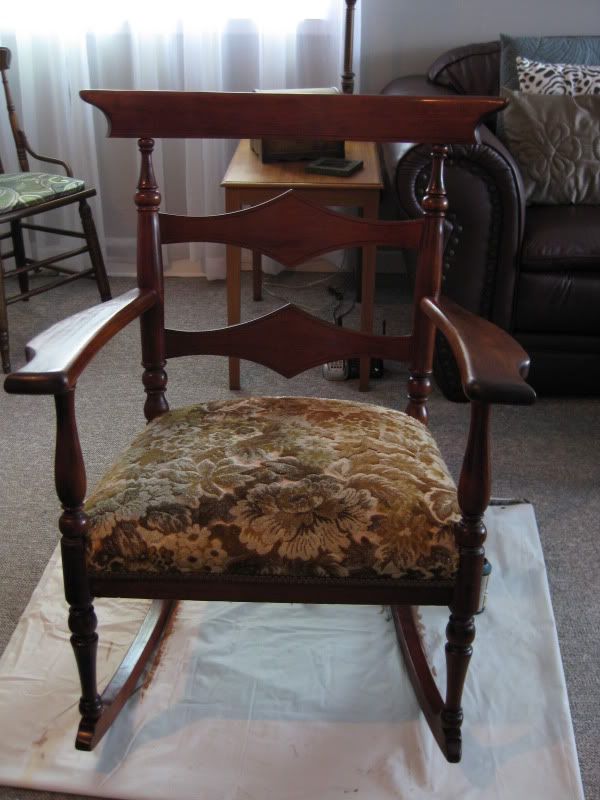
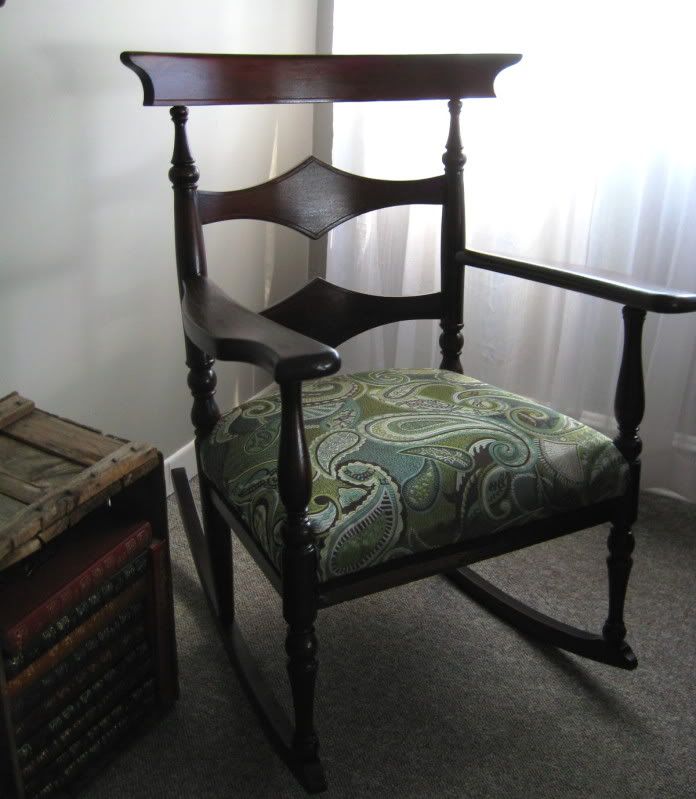
Chair Makeover

I revamped this chair this week.


To tone down the redness, I applied onyx black water based stain with a soft cloth and then finished with a water based sealer.

I put the new fabric right over the existing seat cover with a staple gun and glued the braided trim into place using a glue gun.


I am completely in love with this fabric.  I am such a sucker for paisley.