Monday 27 June 2011

Fabric Kindle Cover

I made this Kindle book style cover using a shoe bag by April Cornell which I got free for spending buckets of money at her Montreal shop, and which I had no use for.  I love the fabric to death and had tucked it away knowing I would find a use for it at a later date.


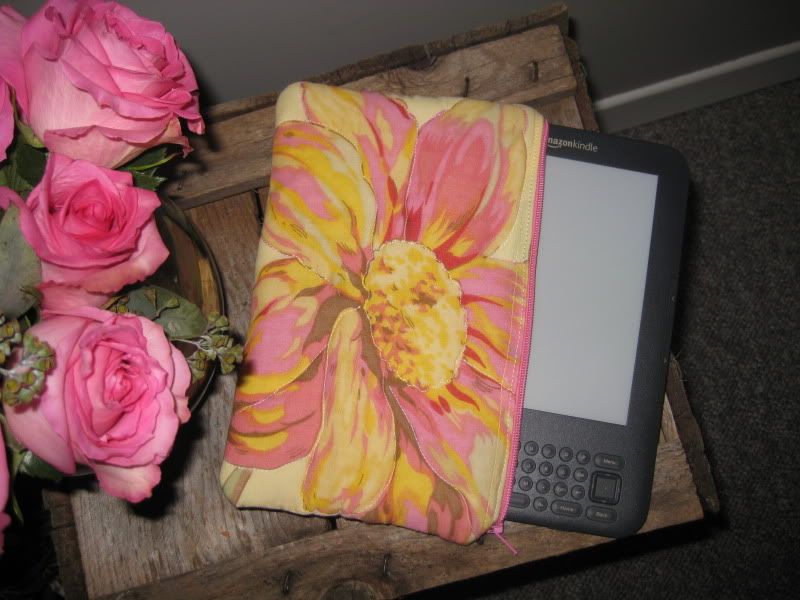
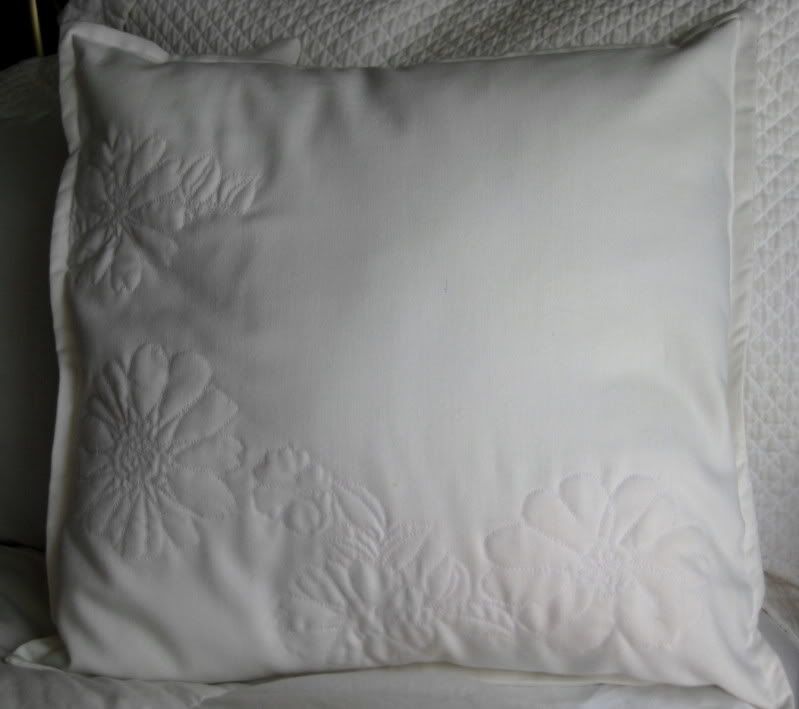
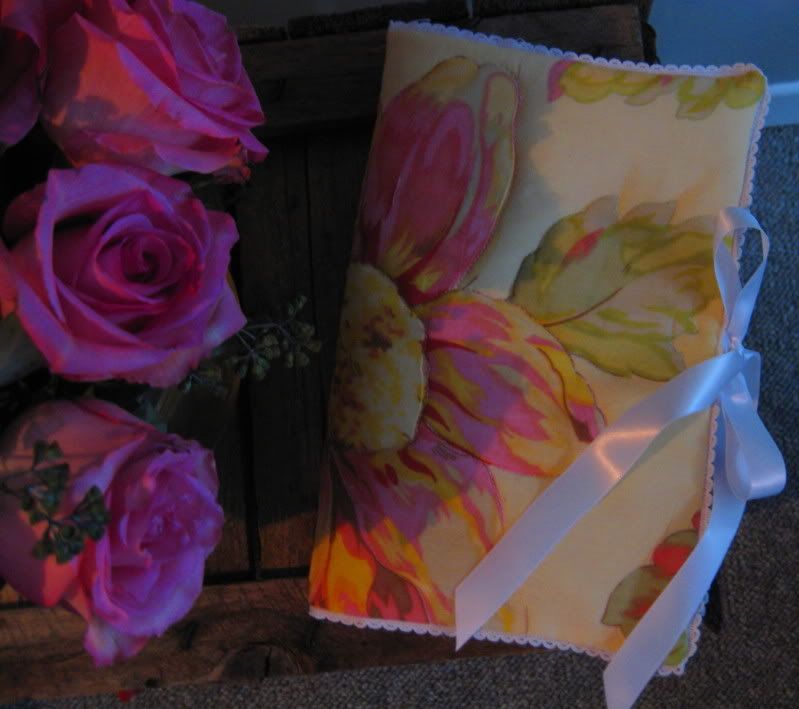
I machine quilted the fabric all around the edges of the flowers and leaves to give it some stability and inserted some pliable plastic inside the cover. I finished it with picot edged lace.

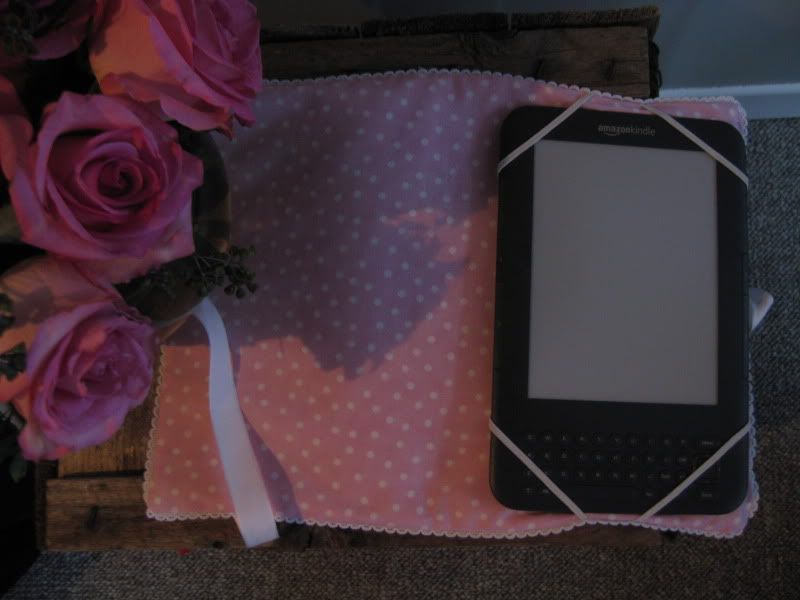
I had made this zipped Kindle sleeve first and then realized that Kindles are on the slippery side to hold when I'm reading in a bubble bath, so I decided to make the book style cover.  

I use the zippered sleeve for the multitude of techno connecters I accumulated from all the gadgets I have around here.  Someone needs to invent a universal connector cable, seriously.  Ideally, everything in the world should be wireless, also seriously.


Friday 24 June 2011

Recipe Binder - Finally!

For years and years I have been wanting to put together a decent recipe binder. I have recipes jotted down on all sorts of scrap paper, some of them are illegible. I have some printed neatly by hand on recipe cards in a box and I have some printed out on computer paper and stuffed in a drawer. Some of them are stained with oil or chocolate or a hundred other things you find in a cupboard or the ink has smeared. A lot of my newer recipes were saved on my computer so I was dragging my laptop into the kitchen and hoping I didn't spill molasses onto the keyboard.

Finally! Yesterday! I did it! I done made me a decent recipe binder! That is pretty!

See?


Front cover.  I'm Canadian, I'm allowed to use a U.


Back cover.


Even the pages are pretteh!

I found a website that has ancient volumes of botanical illustrations and picked out two that I loved and printed them on card stock, then inserted them into a basic binder. I cropped one of the illustrations for the spine of the binder and used that same image in black and white on each recipe page. Each recipe is in a page protector, safe from messy me. I found thin plastic dividers by Avery in pretty pastels to group the recipes. It's freaking perfect!

This binder makes me so ridiculously happy and smiley faced every time I see it!

Tuesday 14 June 2011

I made these shams today using a tutorial found here.


I placed my tucks 3 1/2 inches apart rather than 5 1/2 as was done in the tutorial.  These took one hour each after I had marked out where I wanted the tucks to be which meant math and deep thinking.

Sunday 12 June 2011

Peonie Spray Pillow

My peonies are in full bloom in the garden.  They reminded me that I had wanted to make an accent pillow using the same technique I saw used to make peonies out of crepe paper.  


I'm going to be adding a few small fill in flowers. They were grouped together in a tight spray but spread out more than I would have liked after I stuffed the pillow.  Live and learn.

Wednesday 1 June 2011

Machine Quilted Pillow

I just love the look of white quilted bedding so I made this pillow taking the easy way out and quilted it by machine.


I received a few sets of floral bedsheets from the 1970s that I have been using to sew cosmetic and travel bags.  The fitted sheets were threadbare in a few sections so I cut out the floral designs in those worn out areas and used them as a 'pattern' to quilt the flowers on this pillow.

I placed my 16 1/2 X 16 1/2 inch pillow cover fabric down, put a layer of quilt batting over that, a piece of waste fabric on top of that, and then arranged the flowers I had cut out of the sheets over the last layer and pinned them down. 

I simply stitched all around the petals and leaves, and then drew in all the threads to the wrong side without cutting them.  After sewing on the back of the cover and trimming the seams, I inserted a pillow form and then top stitched 3/4 of an inch all away around the pillow.

Chair Makeover

I revamped this chair this week.


To tone down the redness, I applied onyx black water based stain with a soft cloth and then finished with a water based sealer.

I put the new fabric right over the existing seat cover with a staple gun and glued the braided trim into place using a glue gun.


I am completely in love with this fabric.  I am such a sucker for paisley.