

I sewed this tote today and have placed a tutorial under the cut.
Cut a piece of fabric measuring 44 inches long by 13 inches wide, fold it in half and sew the seams on either side. Serge or zigzag to finish them.
I made boxed corners on this, and if you don't want to, skip this part.
Spread out the bottom corner seam as shown and press. Measure out two inches creating a triangle, and mark a line.

Sew along the line and then serge or zigzag the seam to finish.

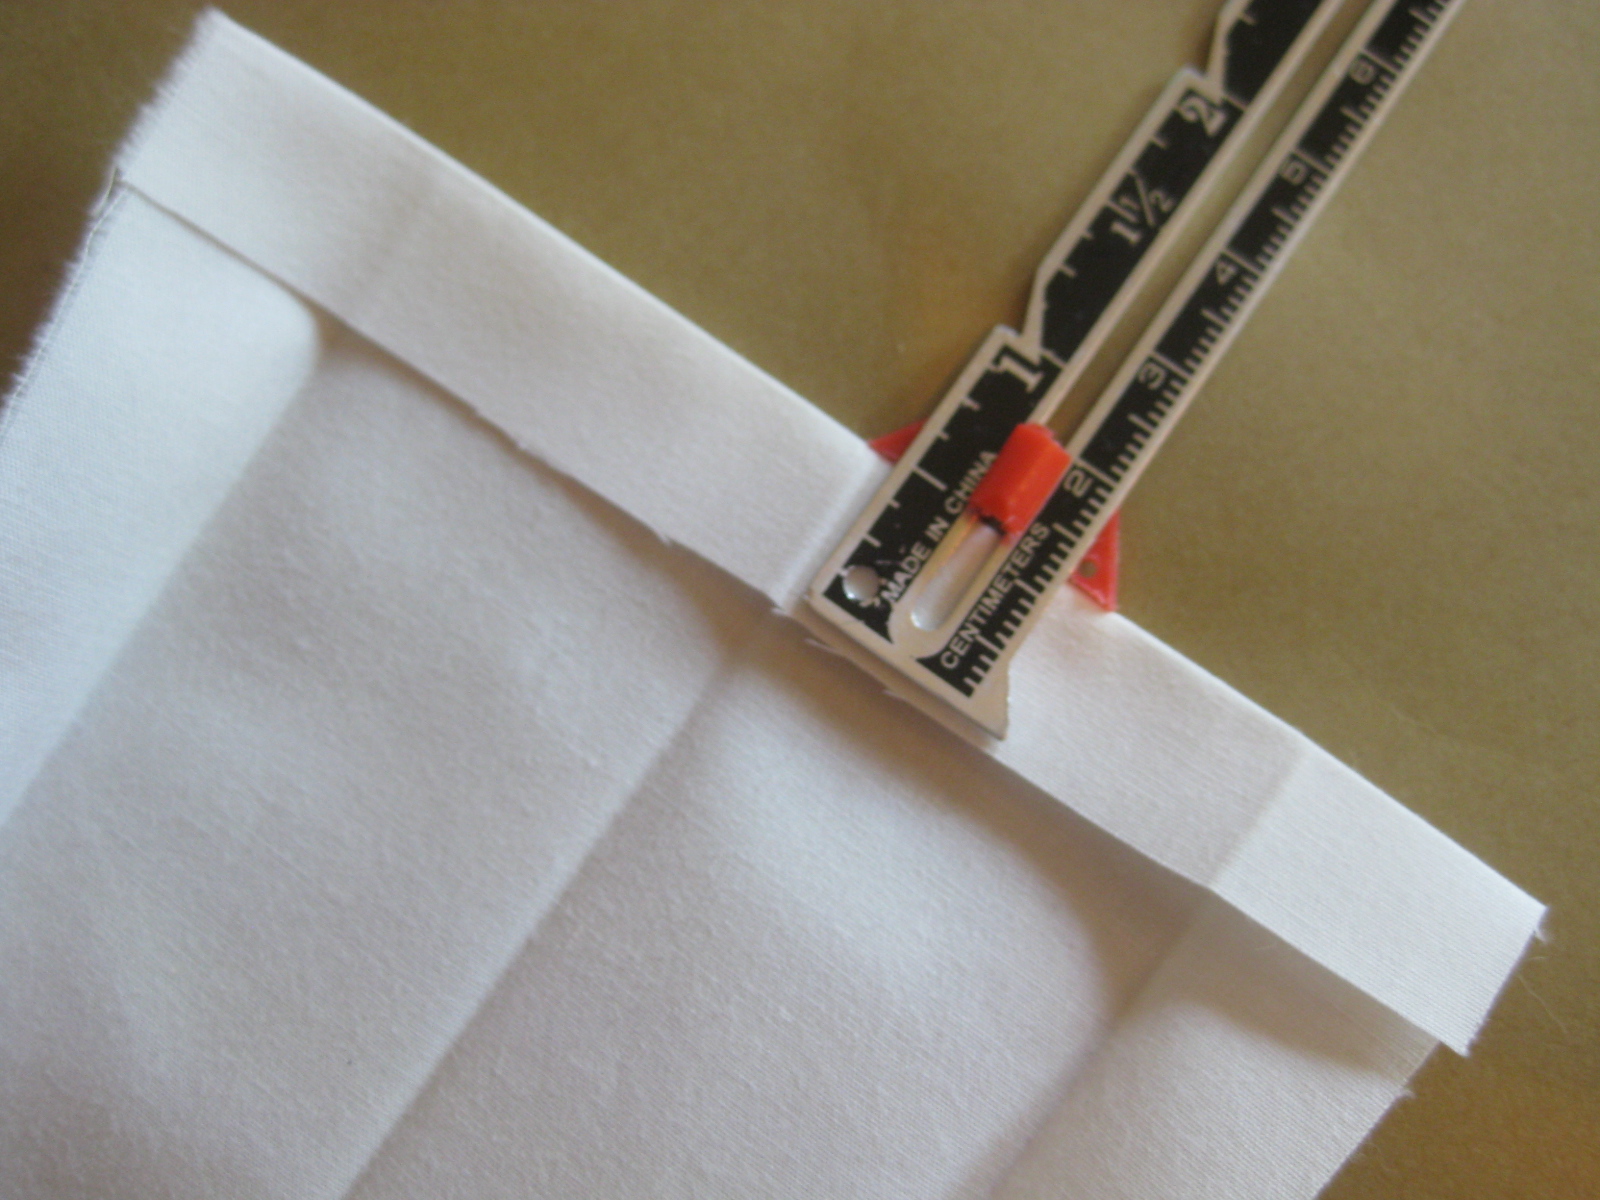
Fold down the upper unfinished edge 1/4 inch and press. Fold it down again 1/2 inch and press.

Fold down this edge again six inches and press.

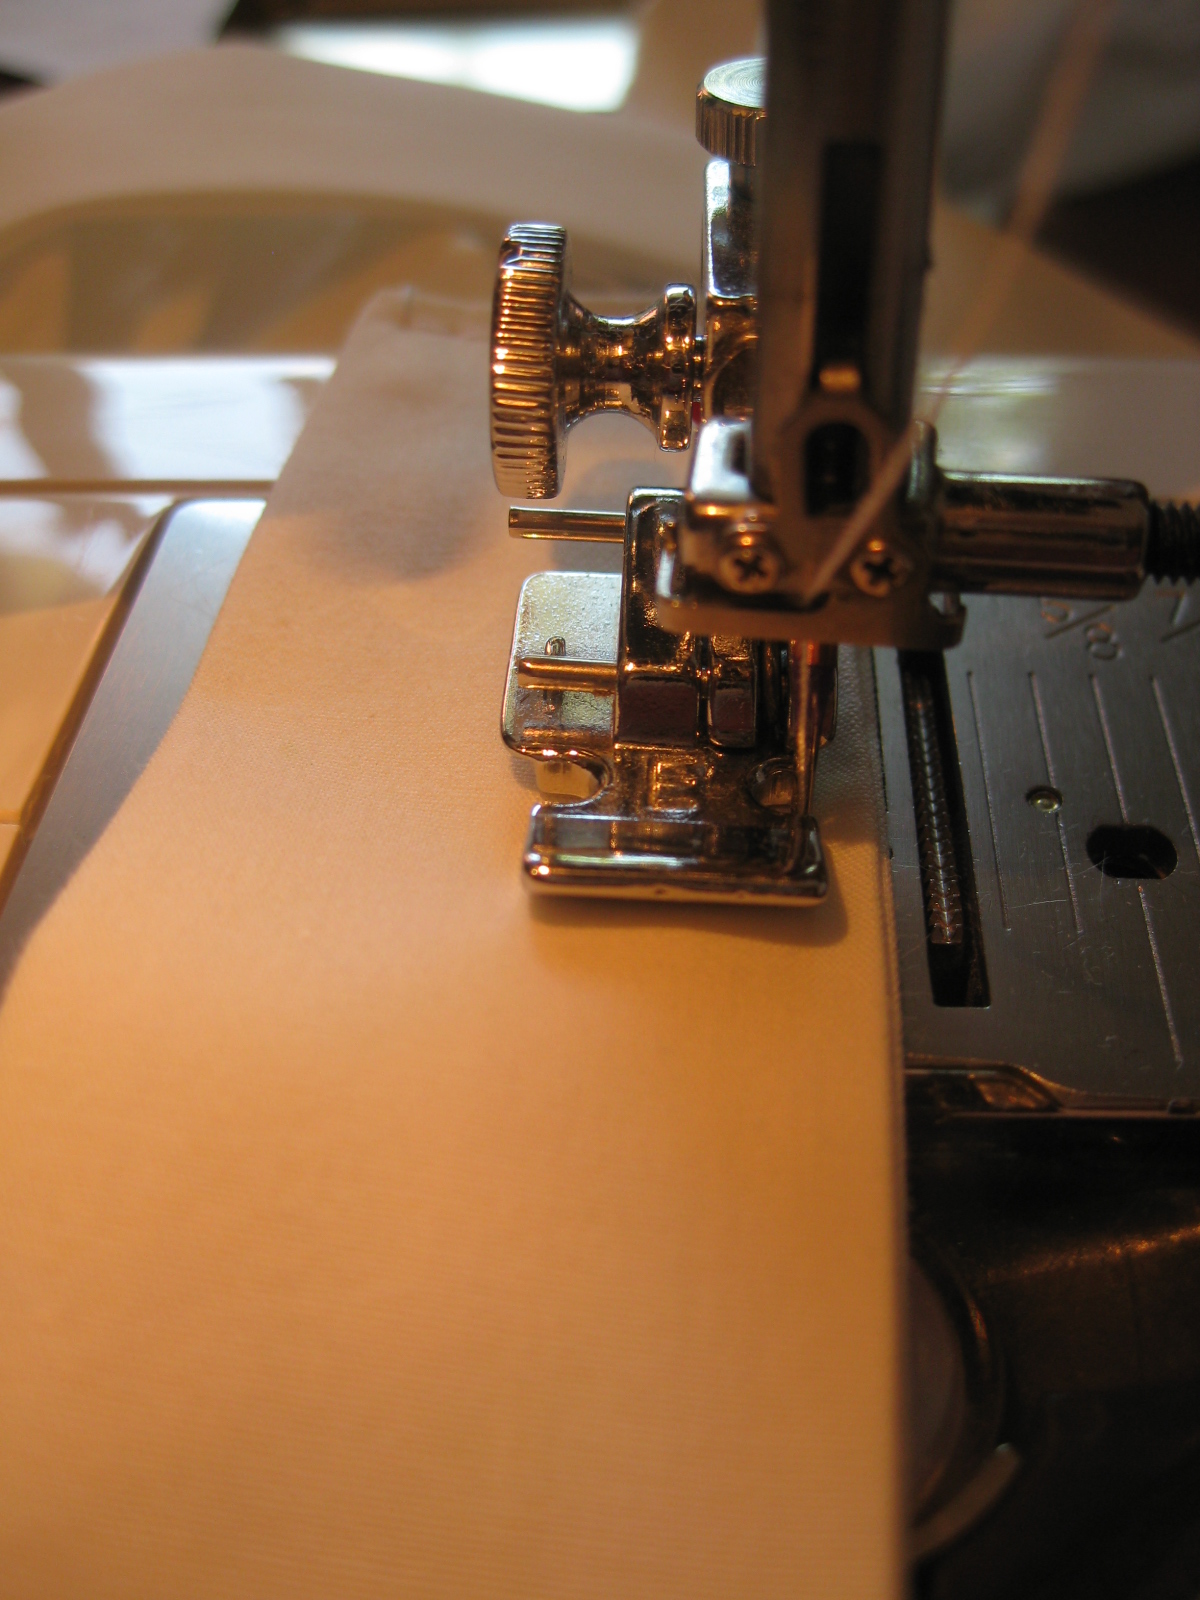
Sew along the hemmed edge very close to the turned over edge.

Turn the tote right side out, it should look like this.

For the ruffles, cut out three strips of fabric measuring 4 inches wide by 52 inches long. I ripped rather than cut the ruffles with scissors.
Sew the edges together to form a circle and press the seam open.
Set your machine to the longest stitch and sew 1/2 inch from raw edge. Pull the thread to create gathers.

On the right side of the tote bag, draw horizontal placement lines (shown in blue) on the front and back of the bag for the ruffles as follows:

Remove the outer casing of your sewing machine.

Pin a ruffle along the bottom line of the tote, making sure that the ruffle is gathered evenly - the sew it in place.


Pin and sew the second (middle) ruffle in place, then pin and sew the last (top) ruffle in place.

For the straps, cut or rip a strip of fabric 4 1/2 inches wide by 30 inches long. Press the 4 1/2 inch edge under 1/2 inch and press.
Fold both long raw edges under 3/4 inch and press.

Fold in half and press.

Top stitch around all edges, close to the outer edge.
Place one end of the strap 1 1/2 inch from side seam and stitch in place. Repeat for each end of both straps.

I stitched an X in the center of the square that was sewn when attaching the strap ends (for extra strength), like so:

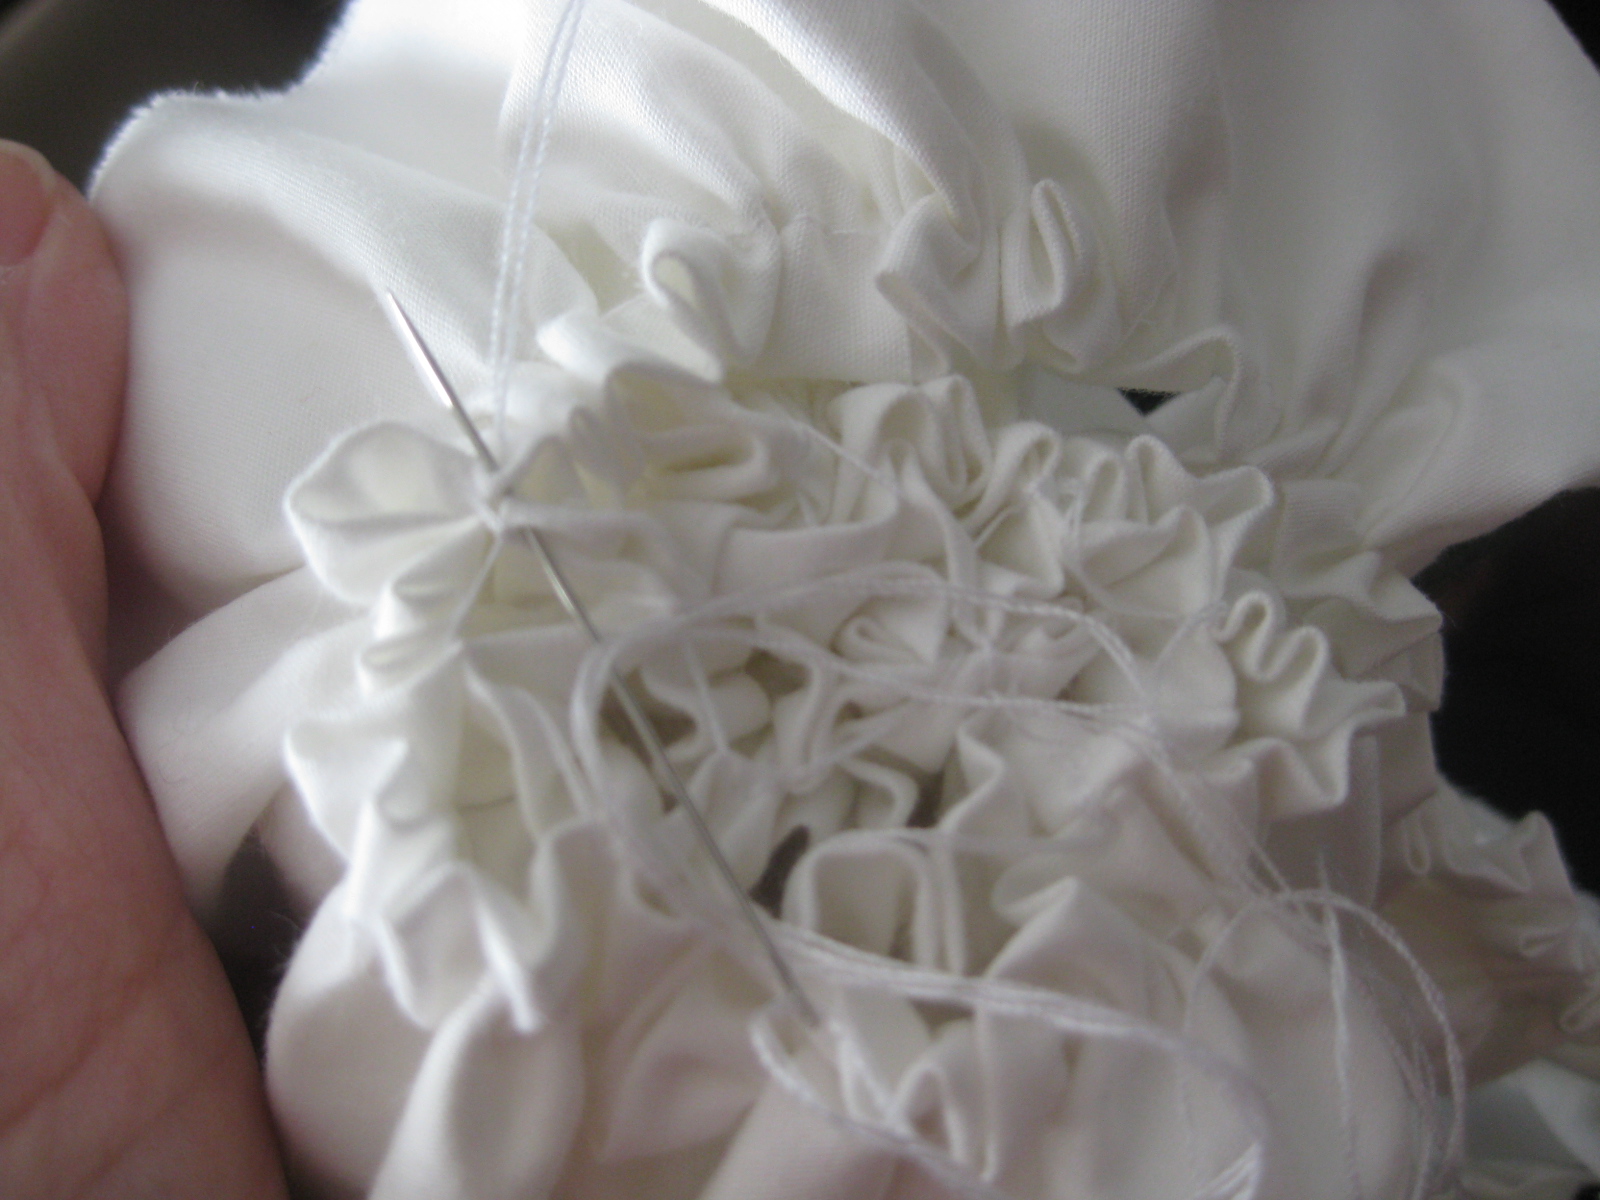
For the rosette, cut or rip a strip of fabric 4 1/2 inches wide by 66 inches long, (you'll have to piece this together if you want to save fabric) fold in half lengthwise, and stitch using the longest stitch length - 1/4 inch along the folded edge.

Pull threads and gather up the strip very tightly.

Start rolling one end of the strip and stitch in place on the wrong side.

Continue rolling the strip, stitching in place until you reach the end, or until the rose is the size you'd like.
I sewed a pin onto the back of the rose so that I could remove it for washing, or to switch to a different flower.

Pin or stitch your flower onto the tote and you're done.

You made a beautiful work! Thank you for sharing the tutorial!
ReplyDeleteThank you Hanni!
ReplyDeleteOh wow that's gorgeous! Awesome tutorial, I definitely want to give this a try thank you. :)
ReplyDeleteThis is absolutely beautiful! I'd love to make a couple of these (a bit smaller) for the little girls in the family. Just lovely!
ReplyDeleteWow! Your tote bag looks fantastic. I love the added flower. Super tutorial too!
ReplyDeleteDee
What a pretty dress,who wouldn't love it! I would try something like this for my niece.
ReplyDeletewww.blissfulsewing.blogspot.com
Pinning!! This looks like a super-easy, fun project. :)
ReplyDeleteLove the ruffles and the flower!!! They really dress up the tote!!!
ReplyDeleteWhat is the brand/ model of iron you used? Looking for one that gets hot enough. Thanks.
ReplyDelete