


I am so jealous, it's gorgeous and old and worn and has that ancient book smell - everything you want in a book. It was in the We Don't Want These Anymore pile, so no Important Books Of Higher Learning were slayed to make this cover but I will admit that I still think it's sacrilegious to destroy books even when they're going to be used to, well - read books.
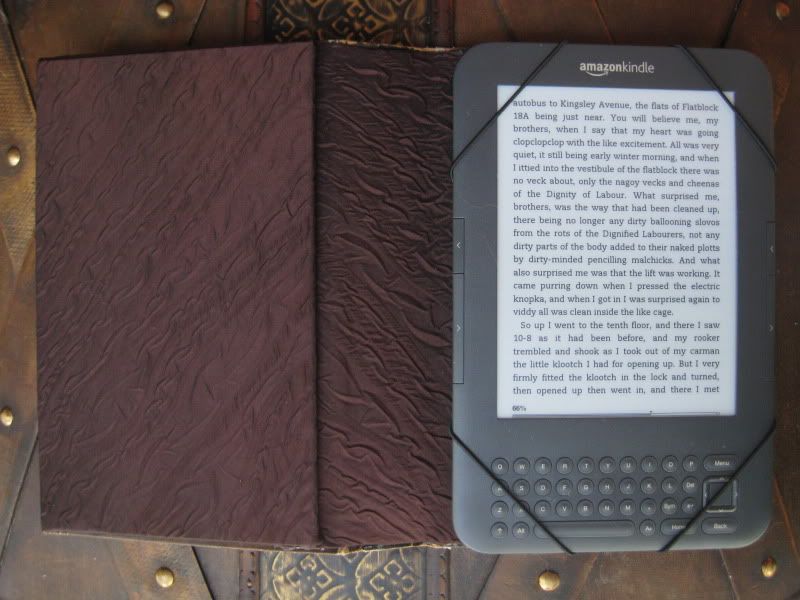
I don't know if you can tell from the photos, but this cover is embossed with some nice design detail. My stomach lurched thinking about carving away at such an old and pretty volume but hey, I'm not the one who invented e-readers that are on the slippery side and in danger in falling into the bathtub which compels you to make a book style cover for them .
Anyway, I am really jazzed about how this thing turned out because it exceeded my expectations by at least 83%.
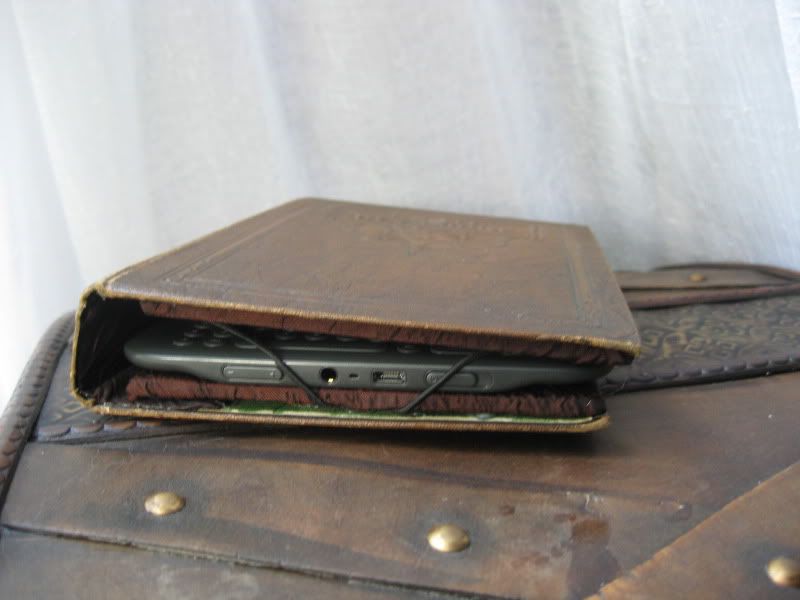
The Kindle looks as though it's larger than the cover in the last shot but it must be a weird angle because as you can tell in other shots, it fits in there perfectly with no edges hanging out. I am reading A Clockwork Orange for those of you who Need To Know, if words like veck and ittied and plotts didn't give it away, O My Brothers.
See how I did it after the jump.
I used a book measuring 7 1/2 inches long by 5 inches wide with a spine measuring 1 1/4 inches to make this cover.

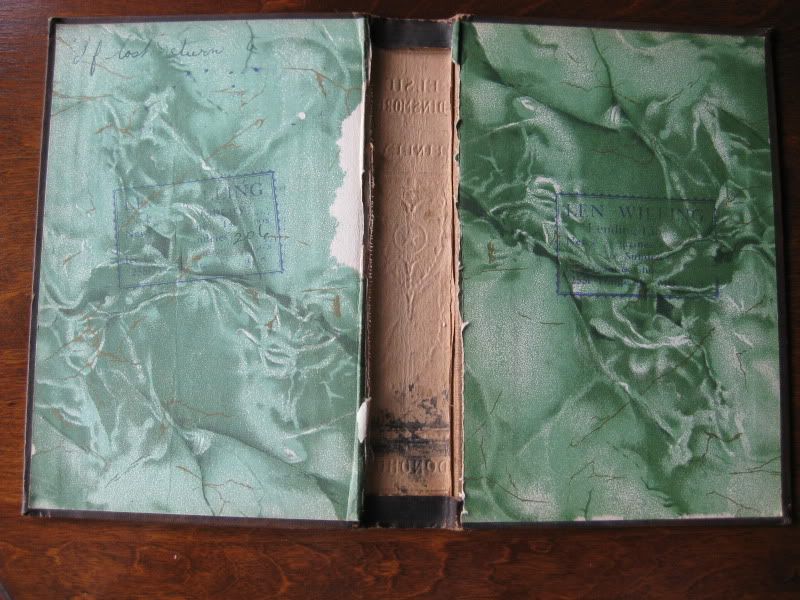
I removed the pages using an exacto knife and gently pulled them away from the spine. Sorry, book. RIP.
The spine on this book needed reinforcement, so I measured out the inner spine and drew it out on some 1/16th inch thick leather. Sorry, cow.

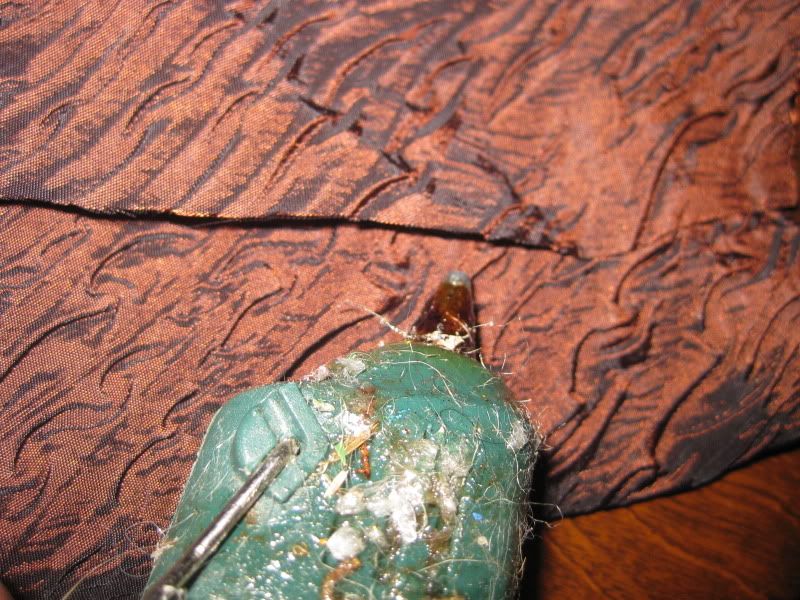
I cut that out and glued it down with a glue gun. I used a glue gun for this entire project. I spent time looking into a suitable glue and never did find something I thought would work as well as my trusty glue gun. It bonded motherly loving well for this project.
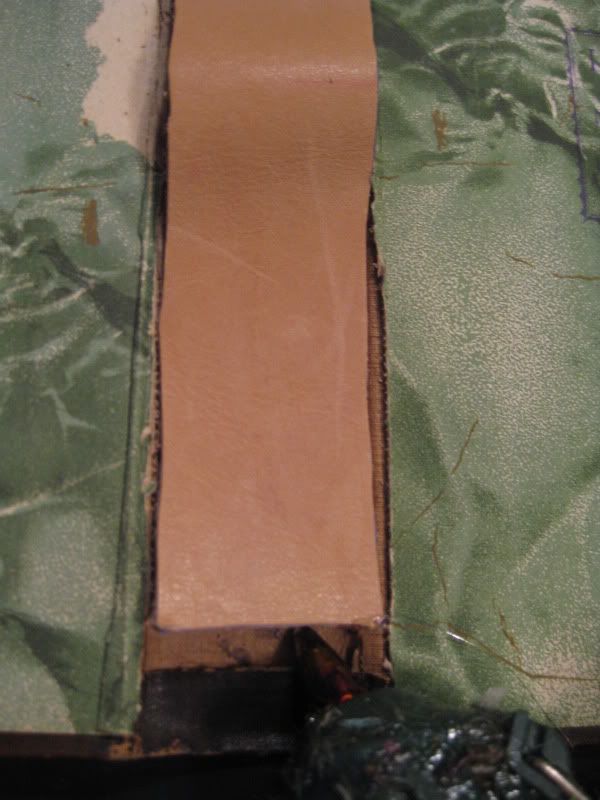
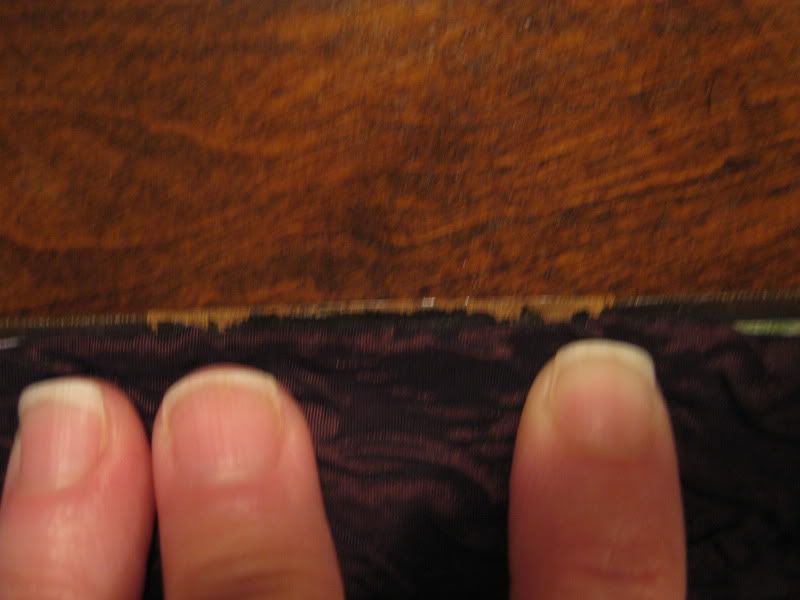
I left a gap at the top and bottom of the spine, about 1/4 inch, so the leather doesn't show.

For the inner lining, I chose a fabric that resembles the pricey lead and end pages you will find in quality leather bound volumes. This is a silky textured fabric that subtly changes colour in the light. I had it on hand from another project I made - serendipity!
I covered the spine first. I cut a piece of the lining fabric the width of the spine plus two inches, and the length of the spine plus two inches. I folded the top edge under and glued it in place along the upper edge of the book cover.
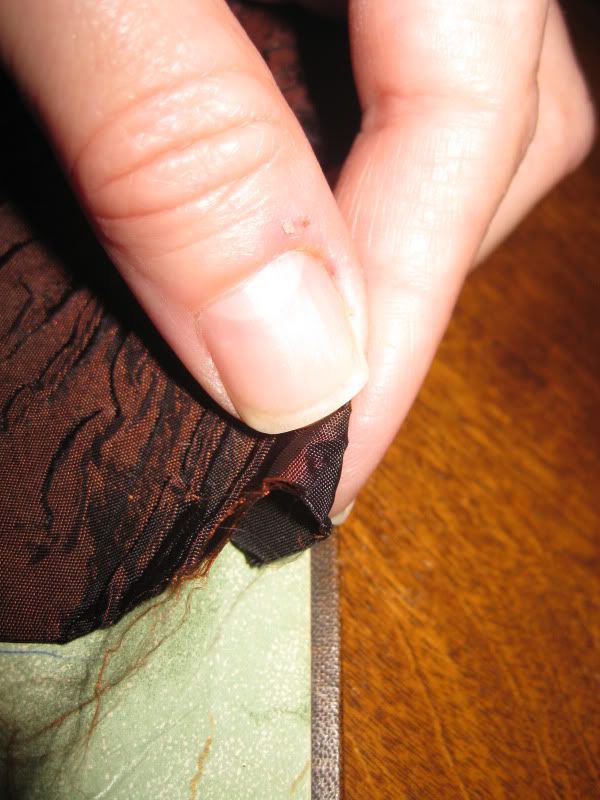
Then I glued the vertical edges down, keeping the lining taught as I went along.

I folded the bottom edge under and glued that down in the same way the top edge was done.
So now the inside cover looks like this.

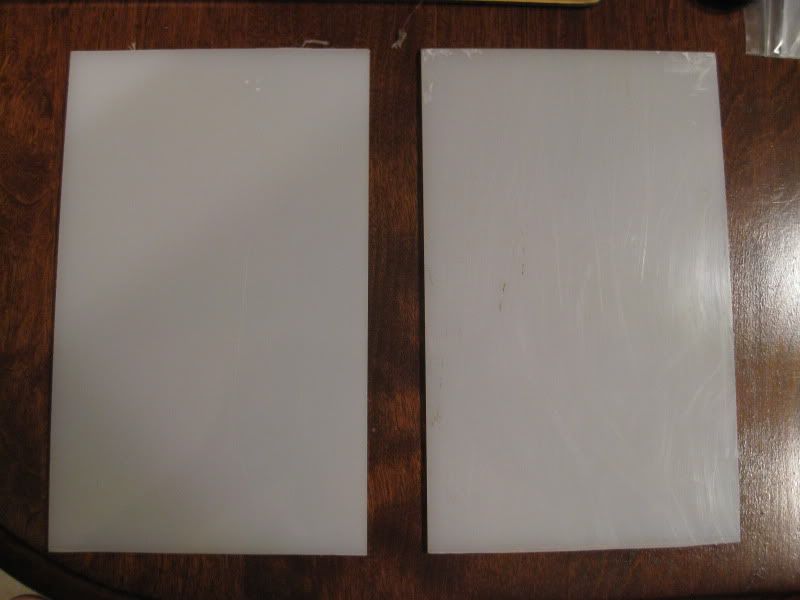
To line the backs of the covers, I measured the length and width of the inner book cover and cut out some 1/16th inch thick rigid plastic. This is what I had on hand, you can use wood or the covers of old hardback books but I wouldn't recommend something like a corrugated cardboard or anything that will bend while you're covering it.
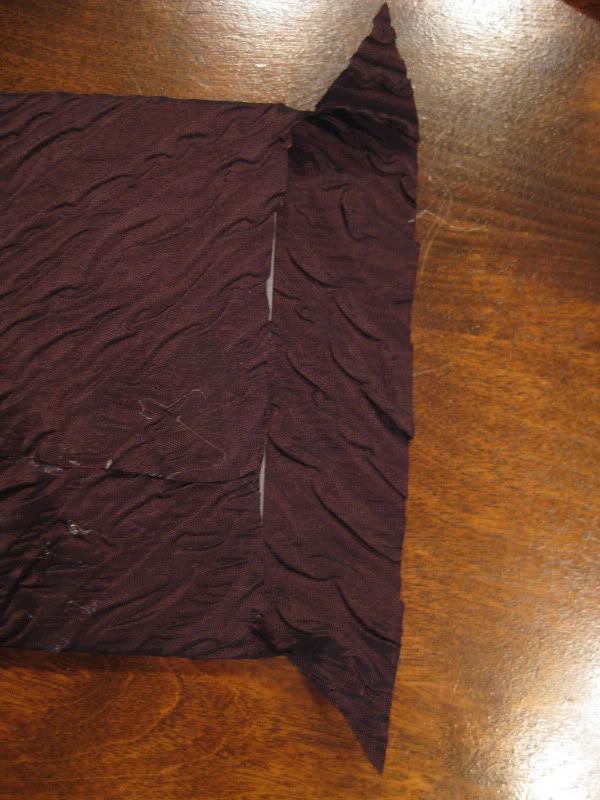
I cut out a piece of lining that would completely wrap around the plastic components. I wanted the plastic wrapped completely because I knew that the fabric would bond better to the cardboard cover than exposed plastic would have if I had just wrapped the fabric over an inch on the back. I also didn't know how well the fabric would glue and hold onto the plastic, so I figured it would work best by gluing fabric to fabric.
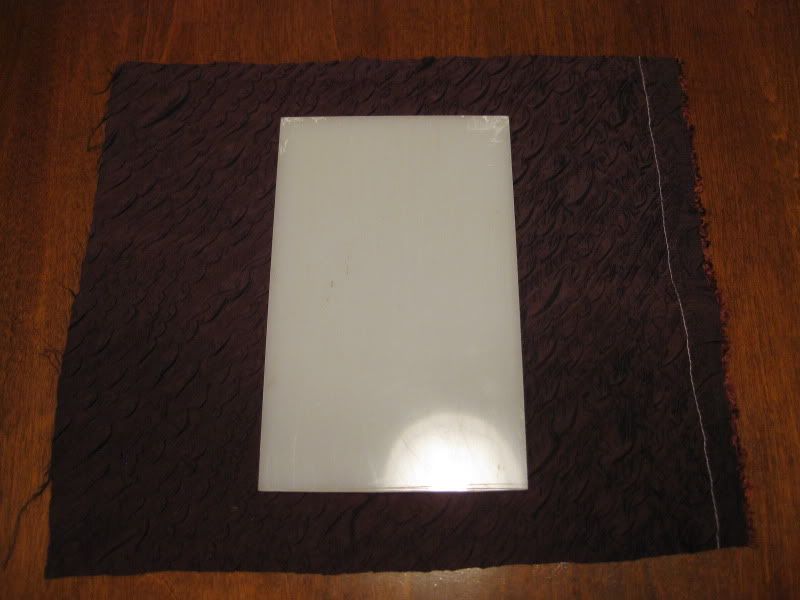
I set the plastic down on the fabric, and glued the lining together going down the length of the fabric, keeping it taut as I went along.
I cut the upper and lower corners at an angle, and cut away the excess lining on the wrong side, like so.
I folded the corner edges inward and glued them down. Sort of like how you wrap the ends of a present.
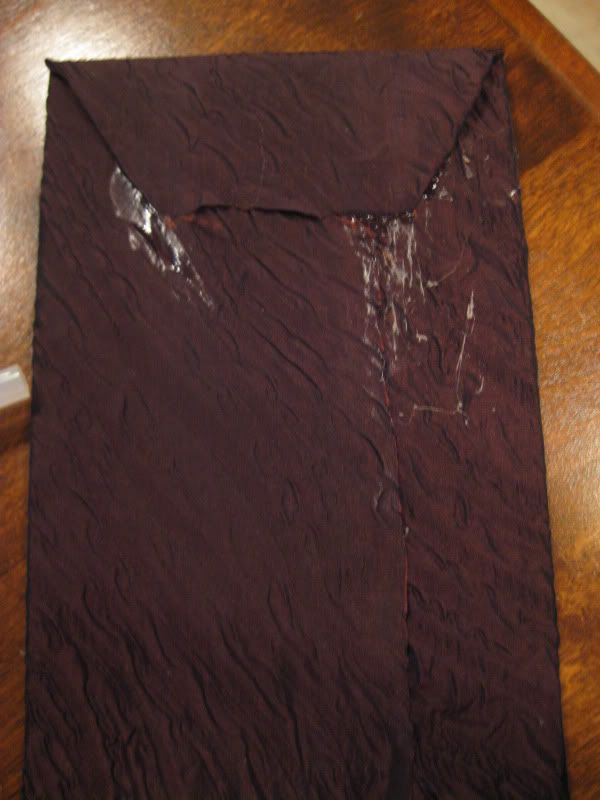
I did the same for the other end, keeping the fabric taut. It ends up looking like this. A hot mess, but it doesn't matter, it's not going to show. The glue is smudged all over the place because I smooshed down the lining to keep it flat and smooth, so that the glue would add less bulk (as hot glue tends to do) as I went along. Doing that means that excess glue can squirt out from under the fabric and then gets pulled away and which burns the heck out of your fingers but some things are worth suffering for.
Next, I used some very thin tubular elastic, this stuff:
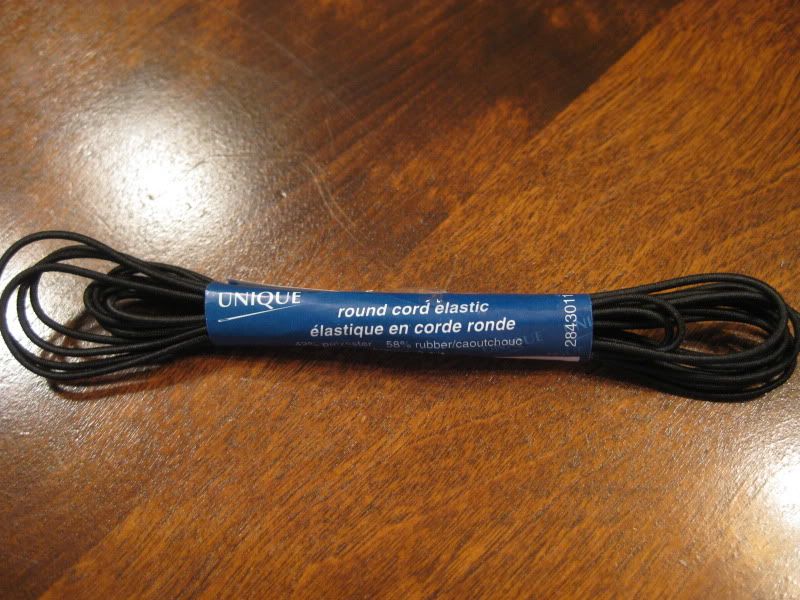
Regardez, c'est en français!
This will be used on the corners of the inner cover that was just prepared. It's going to keep the kindle in place. So that it doesn't fall into the bathtub.
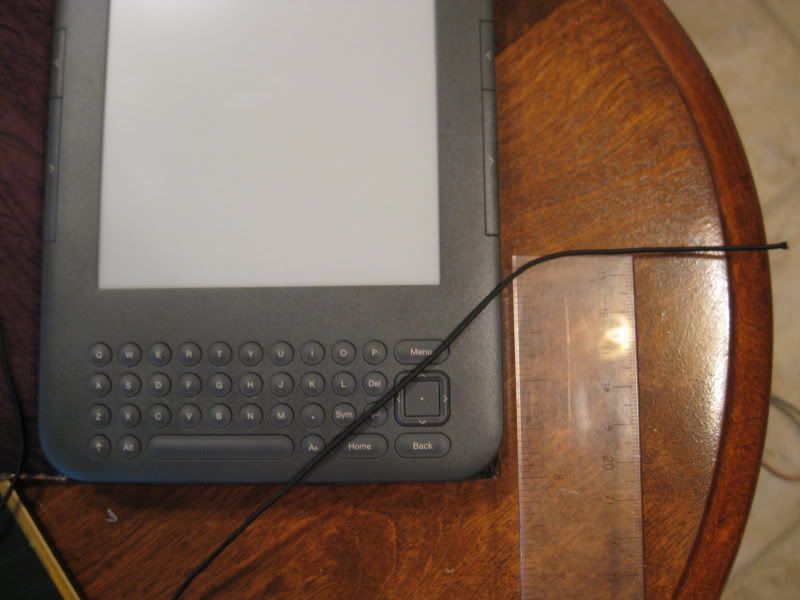
I measured out where I wanted the elastic to fall so that it didn't interfere with the page advance buttons.
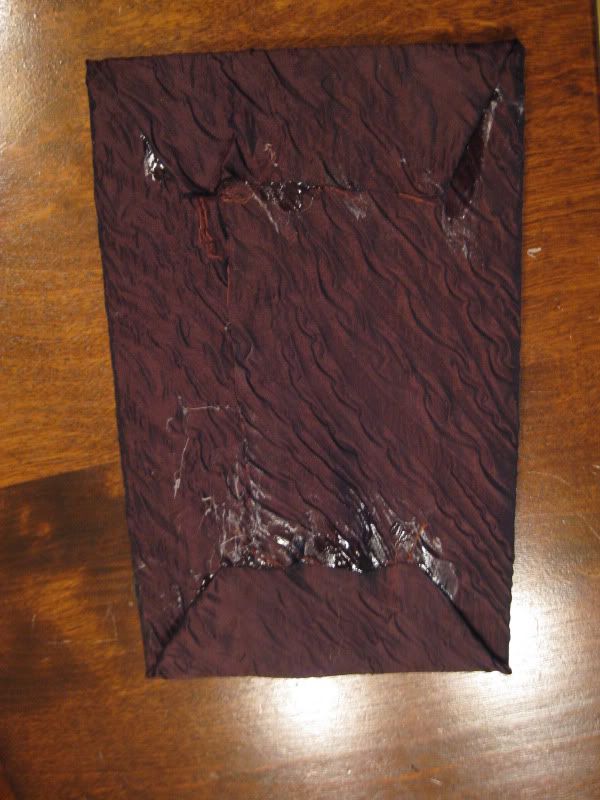
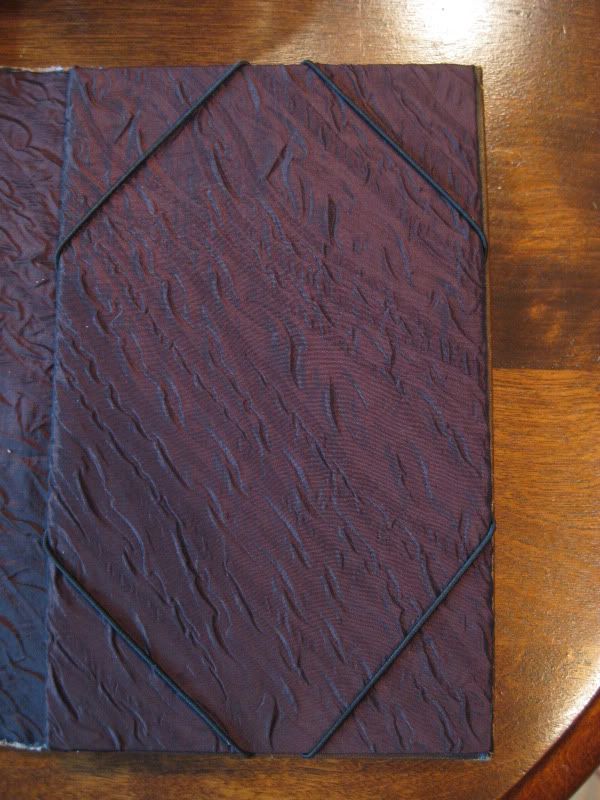
Using these measurements, I marked the back side of the lined cover to indicate where all the elastic would be placed. Then I glued it down in place, keeping the elastic taut.
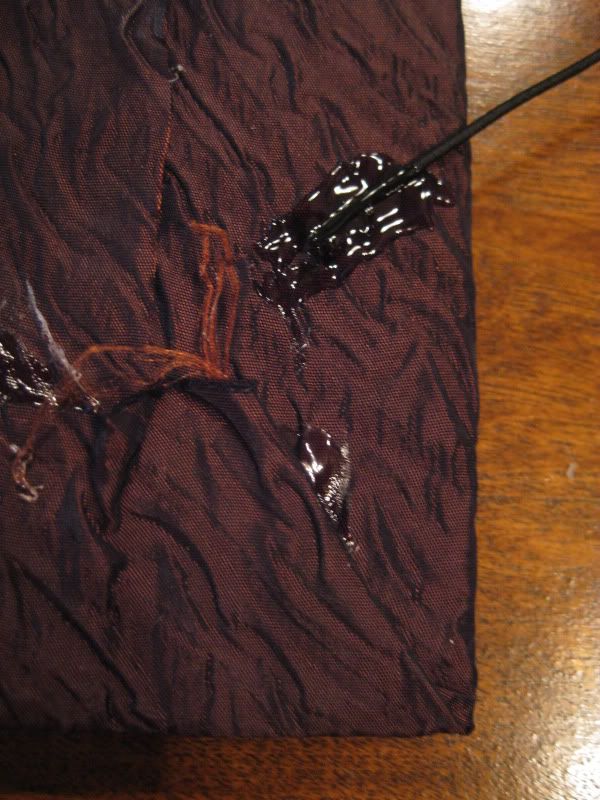
It ends up looking like this:
I glued down the inner lined cover onto the inside of the back cover, that is, the right hand side of the cover when your book is open. So have a look at the outside of your cover now to confirm it's facing the right direction to make sure you're going to glue the lined cover to the correct side. You'll want to make sure that you're gluing it down correctly because you only get one shot at it.
I covered the second plastic sheet in the same manner as above, but of course, didn't repeat the steps for the elastic. Then I glued it down onto the inner front cover.
Done. You can go immerse your fingers in ice water now. Later on, you can go read in the tub without fear of your Kindle taking a dive.
golly this is so brilliant! :) i'll scout around for a cute book i can use to cover my ipad! :)
ReplyDeletethanks for sharing...