

I've been using a redneck Margarita cocktail bucket to store my clothes pegs in for three years now. It's great because it keeps my pegs dry, I'm able to hang it from a post within reach from my clothesline, and it's just the right size.
It's become grody over the years, and since everything else about it is perfect, I decided to cover it.
I'll give you some tips on how I did it after the break.

Here's my classy redneck Margarita (just add booze and freeze!) bucket.

I had to spray paint it white because the label was showing through the fabric.

Wrap the bucket up to the rim in newspaper taping down one end, if you're classy like me, or use wrapping paper if you prefer to not be so classy.


Using a super sharp X-acto blade, trim the top and bottom in a clean line.

You end up with this.

Peel the tape off and remove the paper - this is your pattern.

Pin it to your fabric and cut it out, leaving about three or four inches of excess at one end.
I didn't photograph this step, but slap some Mod Podge onto the bucket and apply your fabric, making sure to get air bubbles out.
Depending on your print, when you come to the end, instead of cutting a straight seam, cut out the pattern of your print. Like so:

As you can see, I've cut around the tulips, and this sort of camouflages the 'seam'.

As you can see in this photo, it looks as though there is no seam.

I used a compass to get the measurement of the circle of fabric that will go in the center of the lid. I hated math in school, but I loved me some geometry, and I was super glad when I found this set when I hadn't been looking for it. I'm so happy I don't have to use stuff like plates and cups to draw circles when I'm crafting anymore!

Using that measurement, I drew the circle right onto the fabric, then cut it out.

Then applied it with Mod Podge.
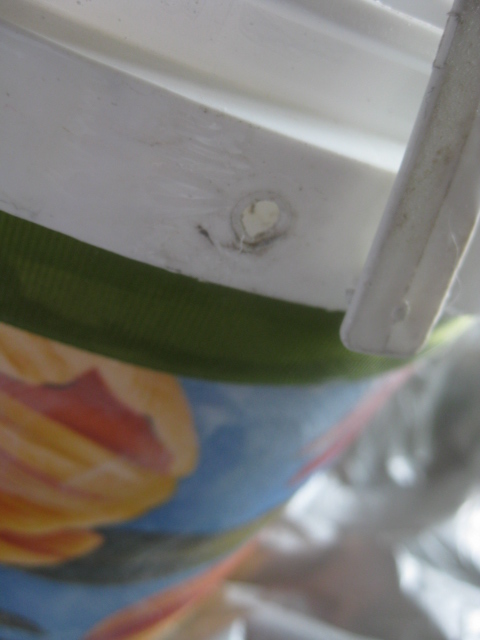
I was able to remove the handle of the bucket so it was easy to add ribbon trim, which I attached with Mod Podge. I attached one ribbon at the upper edge of the bucket, and a second round on the edge of the lid.

When I got to the hole, I snipped an X right over it so the handle would reattach.

To make a bow, loop your ribbon and stop at the center.

Using a glue gun, glue the ends together, and put another dab of glue to hold the cut end to the inside.

Fold the long end of the ribbon in half widthwise, and glue it down.
 |
| Wrap the long (folded in half widthwise) end around to the front of the bow as shown. |

Now wrap to the back and glue the end down. Trim off the excess ribbon, and glue to the seam of the trim around the edge of your lid. And that's it.

Great way to recycle!
ReplyDelete