Tuesday, 1 March 2016
50s Style Baby Pullover
I knit this little pullover using a free pattern and gorgeous one dollar yarn that I found at a thrift shop. It doesn't get better than that.
The buttons are unfinished wood and I found those at a dollar store.
Details of this project can be found on my Ravelry Page.
Monday, 22 February 2016
Tangerine Dream Baby Cardi
I knit this cardi which is going into my 'Maybe one day' stash, also known as 'Someone hurry up and have a girl!' gift stash.
Details are here at Ravelry
Labels:
baby cardigan,
knitting,
lace
Friday, 12 February 2016
Baby Carriage Gift Wrap

This Baby Carriage gift wrapping was crafted with paper and stitched on a sewing machine. This size carriage will accommodate a newborn baby sweater, booties, socks or a headband.
I simply found an image of this carriage and as you can see, you need to know how to draw two circles to make this. I know what you're thinking - hard. So make a template by drawing a circle that's 12 inches in diameter. Draw two circles that are 6 inches in diameter and you got wheels. Now cut your 12 inch circle into pacman. Still hard?
Leaving pacman's mouth open, stitch around the carriage and stitch spokes on the wheels. Stuff your baby gift in there and stitch the remaining edges.
Decorate however you like, and you've got game. You just won at cutest baby wrapping ever and that mom is going to get gooshy when you give this to her.
Labels:
babies,
baby carriage,
flowers,
gift wrapping,
paper craft
Sunday, 23 August 2015
Altered Thistle Notebook
I crafted this thistle notebook to carry in my handbag. I got the pen from Pier 1, and it's the best $3.59 I ever spent in my life!
Labels:
altered notebook,
diy,
Image transfer,
mod podge
Saturday, 18 July 2015
I created this using a Dollar Store notebook, computer printed image on fabric, Angelic font for the wording, ribbon and a purchased thistle mold.
Labels:
altered notebook,
Image transfer,
mod podge
Saturday, 16 August 2014
Monday, 11 August 2014
Statue of Liberty and Eiffel Tower Pillows
Labels:
Citra Solv,
Image transfer,
pillows
Refinished Antique Chair
I bought four of these chairs at a shop that refinishes antiques. It was going out of business and I found them in the basement for seven dollars a piece.
They had four coats of paint in questionable colours, and it was a bitch to strip them down to the wonderful wood they once were over a hundred years ago. The original seat would have been cane, but forms were cut from wood which were also painted crazy colours.
Anyway, I didn't take before shots because I just decided I had to refinish them right now and that means get right to it, so no before photos.
I stripped going the toxic chemicals route and used paint stripper, then applied two coats of chestnut stain and then water based sealant. I found the paisley fabric a while ago and used it on an antique rocking chair and love it so much that I decided to cover the seat using it again.
Saturday, 26 July 2014
Saturday, 19 July 2014
Friday, 30 May 2014
Altered Scrapbook Cover
I altered the cover of a scrapbook my friend sent me. I had everything on hand to make this, so this was a zero dollar project for me.
Here's a little tutorial.
I started with a plain scrapbook my friend sent me.
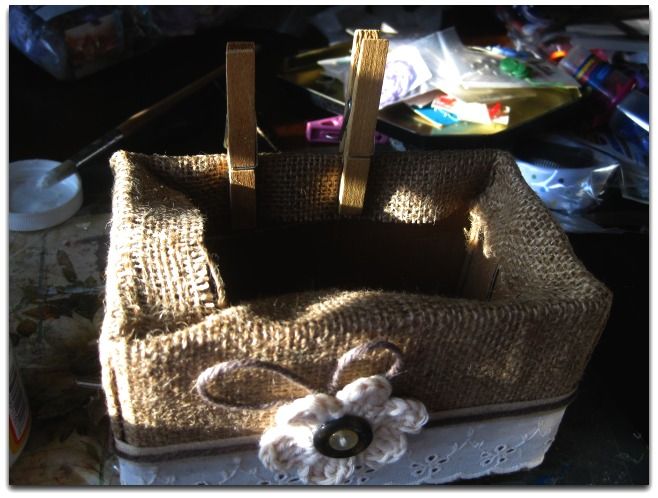
I cut a piece of burlap and glued it down using Mod Podge.
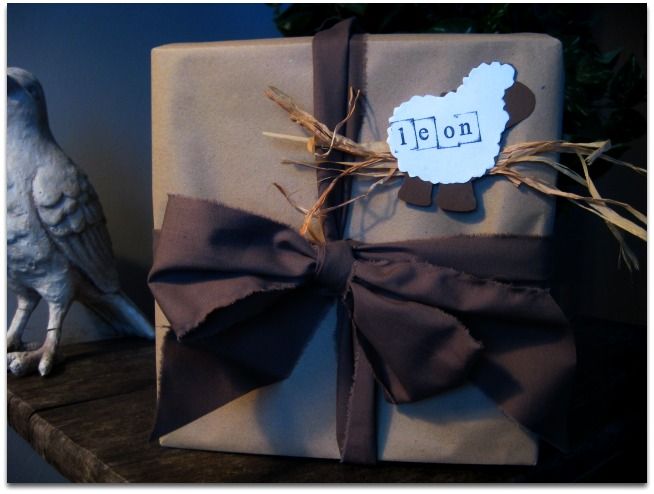
I added some jute burlap and a ribbon to the left and glued down salt dough stars which I stamped. I spelled out my son's name using foam lettering from the Dollar Store. I braided jute twine and glued it down along the edges using Mod Podge. I used clothes pegs to keep it in place until it dried.
I fashioned these curly things out of jute twine and glued them down, keeping them in place with tape until they dried.
I mounted a black and white photo using foam bits. I might change this photo to a different one in sepia - the one I used was the only one I had that was suitable at the time.
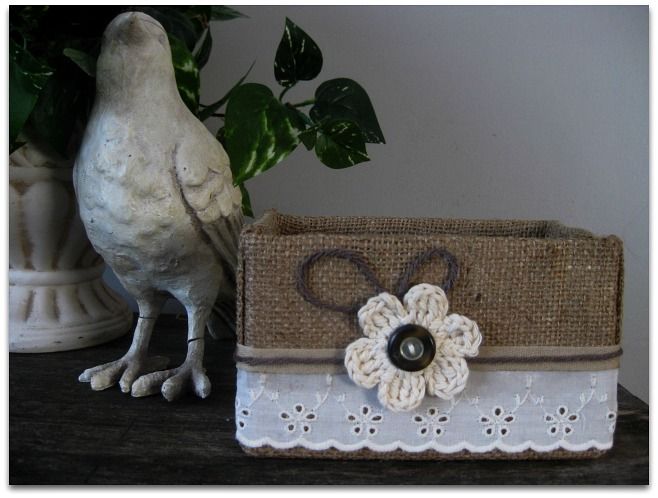
I added a button using a glue gun and added ties using jute twine, also affixed with a glue gun. And there you have it.
-family: Verdana, sans-serif;">Thursday, 29 May 2014
Dragonfly Tablet Sleeve
I made this tablet cover yesterday. The dragonfly is made from felt, the wings have an iridescent opaque overlay. Embroidery detail is stitched using one strand of embroidery cotton.
Wednesday, 30 April 2014
Saturday, 26 April 2014
Jack, Jackie, The Jackster, Jackinator, El Jackal, Ja-KAY
This is Jack, who we rescued from a local shelter. The other cats are still adjusting to this guy invading their space, but it's slowly getting better.
As you can see, he's adjusted swimmingly to having a roof over his head and three squares a day.
Thursday, 17 April 2014
Newborn Hooded Cardigan
This sweater was meant to be given as a gift, but the newborn baby is a chunky monkey and will need a bigger size.
Friday, 11 April 2014
Boxed Bag and Needle Holder
I made this boxed bag and sewing needle holder for my knitting odds and ends. |
I used a tutorial which I found online by doing a general search; there are several great ones to chose from.
Monday, 31 March 2014
Burlap Covered Box
I crafted this little box for storage today.
It's a simple little project, and here's a brief explanation of how it's done:
Choose your fabric and wrap your box as you would a present. I used a plain ole cardboard box, cutting off the top to create an open box. I used Mod Podge to glue the fabric in place.
I used pegs to keep the fabric in place while it dried, like so.
Embellish with...whatever. I used Mod Podge again to glue the elements in place. The daisy was crocheted with butcher's twine. I found a tutorial with photos here which shows how to crochet daisies and I sort of got addicted to making them in different sizes. See how tiny?!
Look at the horrific mess I make no matter what I am crafting. Who would think this kind of destruction can happen while making a simple little box? Me, that's who. I'm impossible.
And there you have it.
Labels:
covered box,
fabric craft,
mod podge
Friday, 28 March 2014
Baby Giftwrapping
Here's another example of my rustic wrapping with a lamb cut out of card stock, and a bow made from ripped fabric strips.
Labels:
gift wrapping
Wednesday, 26 March 2014
Subscribe to:
Posts (Atom)