I have been sewing since I was a child and yet I've never had a pin cushion. I remedied that situation today.
I used the same colours as had in the needle case I made a while ago so that I have a matched set.
Here's a quick and easy tutorial:
Cut two circles 6 1/2 inches in diameter.
Sew 1/4 inch seam all the way around.
Cut a one inch X carefully in the center on one side of the fabric and turn right side out.
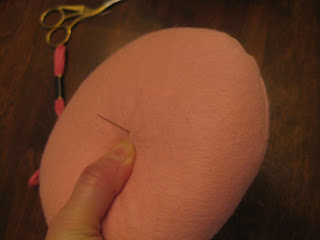
Stuff firmly.
Stitch up the X.
Pull the embroidery floss tightly around to the back side and push the needle through the center of the circle again (back to front). Position the embroidery floss over the same strand you just stitched, wrap the floss tautly around to the back, and push your needle through the center of the circle from back to front again.
Continue to tautly wrap the floss in the same manner as above so that you section the circle into quarters. Remember to wrap each stitch twice.
Tightly wrap the floss in between each quarter. You should end up with 8 sections.
I drew out a flower design on paper and traced it out onto felt, stacking the petal parts. I did the same with circles, and then sewed a button through all the layers. I embroidered wee stitches around the circles and petal edges, using two strands of floss.
I attached the flower to the pin cushion (on the side which has the X) using hot glue.


lovely. Thank you very much for the tutorial
ReplyDeletethank you very much for sharing!!
ReplyDeletethank you for sharing!!
ReplyDeleteCute pincushion! Thanks for sharing how you made it.
ReplyDeleteThank you for Sharing, I will be making one tonight!
ReplyDelete